Chassis Rust:
New page for a new project. The owner sold me the truck presumably well knowing the gas tank was toast...I still would have purchased the truck, but it would have been nice to know. A new tank has been purchased, along with a POR-15 paint kit. My plan is to remove all free standing rust, wash, etch, and paint the chassis of the truck, starting from the forward cab mounts and doing the rear half this weekend. I will attack the front of the truck later. This truck is a good example of what happens when you don't wash your chassis in the spring after a hard winter of salt and sand.
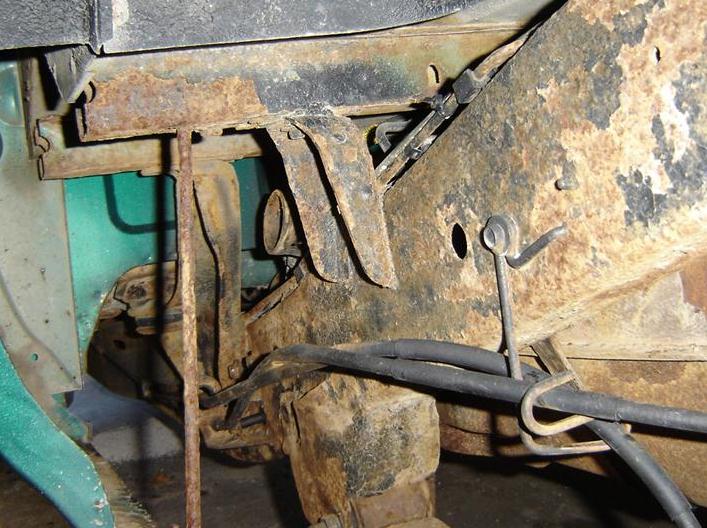
Below, just a sample shot. We're mostly dealing with surface rust, anywhere where moisture was allowed to sit is worse, so under some of the bed paint and edges are worse then flat panels. This should all be scraped down and treated. The tank is in this picture, driver's side, facing forward from the wheel well.
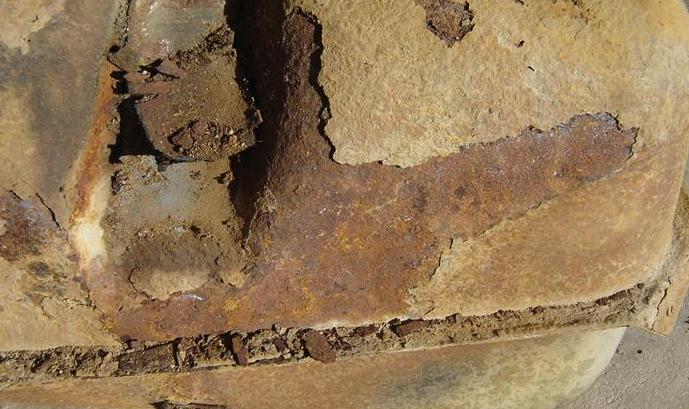
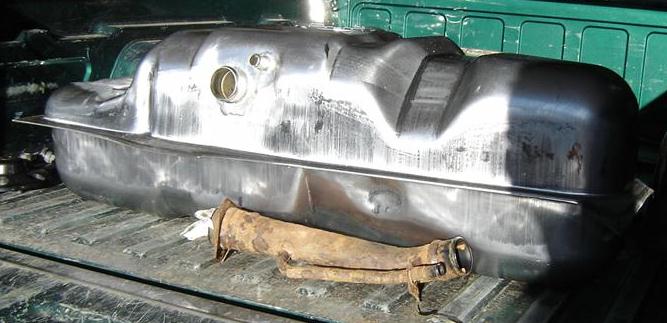
Below is the fuel tank. Once out of the truck the obvious leak area was about 3 inches to the lower right of the hose inlet, just above the 1/2 tank level.

Most of the tank consists of two layers....flaked off rust, and weak inner structure (which leaks gas). I'll need to reuse the tank filler pipe, so I'll need to strip, clean, and POR-15 it to make sure it doesn't weep.
Below is phase 1 of 4 steps I'm taking. Phase 1 is to strip the truck of flaking rust and paint. My most useful tool here is a screw driver bent at a 90 degree angle...great for picking, tapping, and pulling along the surface. Once the loose rust has been removed, I'll move to phase 2, which starts on the next page, a heavy duty cleaning with "Marine Clean" from POR-15. This will remove grease and all the road dirt accumulation. Phase 3 will apply "Metal Ready" which is an etching acid...not tough, but good enough to give some teeth to the metal. Phase 4 is two coats of black POR-15, which will be applied to all surfaces not covered up by existing paint...so EVERYTHING except clean bed panels.
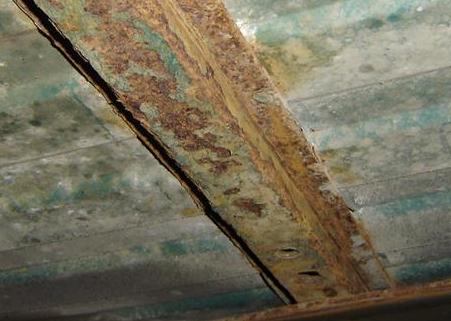
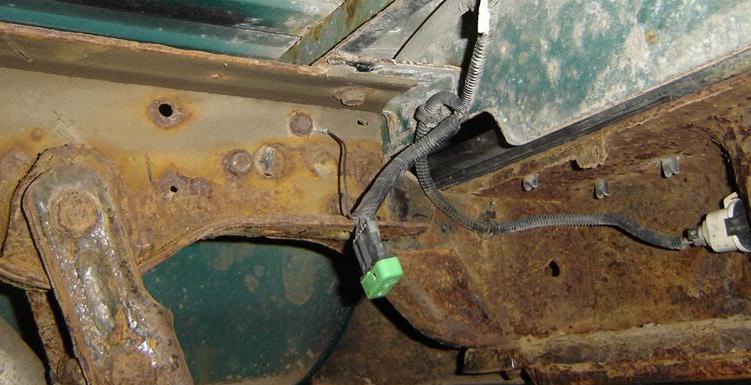
Above is a sheet metal crossover on the bed, below is the right rear of the truck. The bumper is on the right with the white plug being for the rear licence plate. The item on the left is the rear spring shackle.
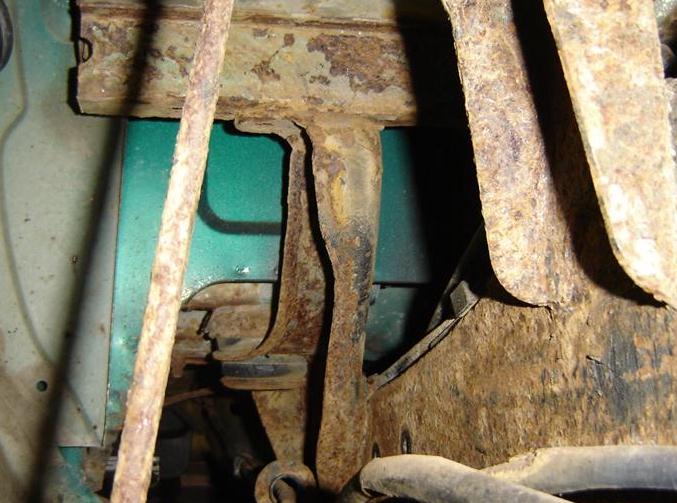
Same picture as the one on top of this page, minus everything that wasn't firmly attached.
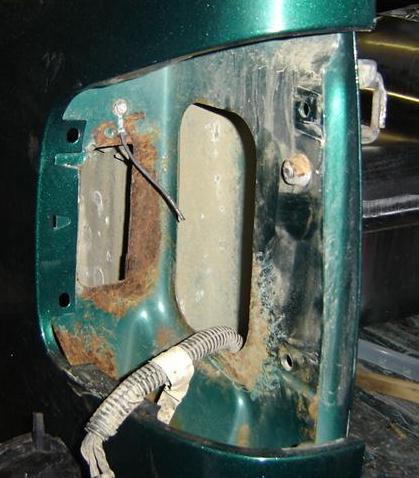
I removed the taillights for wiring access and found some minor rust around the openings. These will be treated and painted too. Great place to get access to the inner bed panels for future cleaning. Some of the sheet metal directly below this point inside the bed is gone due to rust. It is not visible from the outside and doesn't appear to have much structural need.
Continue on to PHASE 2